
Introduction
Incubating chicken eggs is a rewarding experience whether you’re a hobbyist, homesteader, or small-scale farmer. With the right tools, timing, and care, you can successfully hatch healthy chicks right from your own setup. In this guide, we’ll walk you through the full incubation process in ten essential steps — perfect for beginners but detailed enough for seasoned poultry keepers.
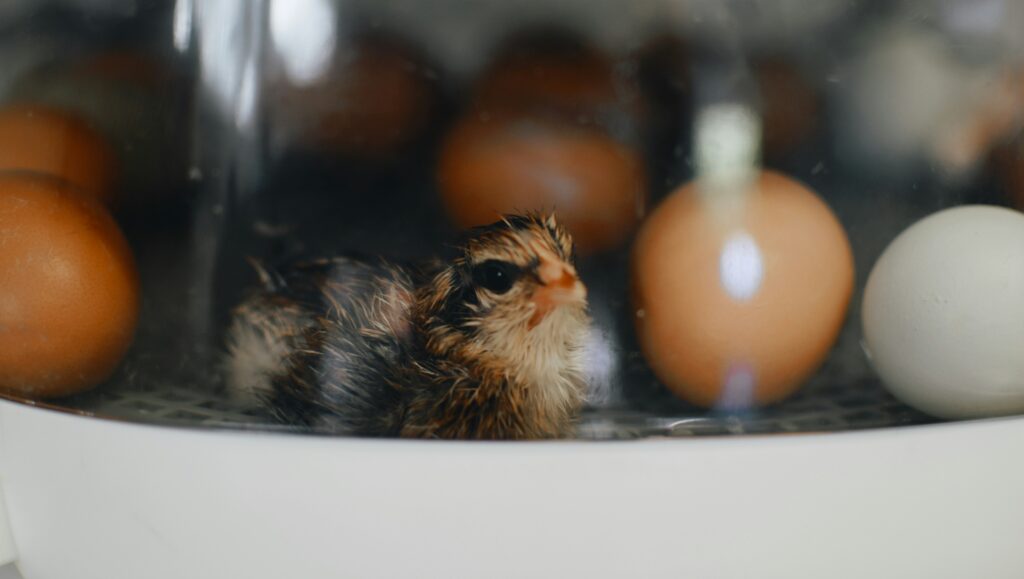
Photo by Christian Bowen on Unsplash
1. Choosing the Right Fertile Eggs
To get started, choose eggs that are:
- Fertile (from a flock with roosters)
- No older than 7 days
- Stored in a cool, dry place (around 55–65°F)
- Free from cracks, dirt, or deformities
Avoid washing the eggs; doing so can remove the protective bloom that helps prevent bacteria from entering.
2. Understanding Incubation Requirements
Before starting, understand the basic needs of your developing embryos.
Temperature and Humidity Basics
- Ideal temperature: 99.5°F (forced-air) / 101.5°F (still-air)
- Humidity: 40-50% during days 1–17; increase to 65-70% on day 18+
Still-Air vs. Forced-Air Incubators
| Type | Pros | Cons |
| Still-Air | Cheaper, simpler | Uneven temp, needs manual turning |
| Forced-Air | Even heating, easier to use | Pricier, needs calibration |
3. Setting Up Your Incubator
Pre-Incubation Checklist
- Sanitize the incubator
- Test for consistent temperature and humidity
- Install a thermometer/hygrometer
- Run for 24 hours before adding eggs
Make sure the incubator is in a draft-free area with stable room temperature (65–75°F).
4. Egg Storage Before Incubation
If you’re not starting immediately:
- Store pointed-end down
- Tilt daily to keep yolk centered
- Keep humidity around 75%
- Don’t store longer than 7–10 days for best hatch rates
5. Placing Eggs in the Incubator
Place eggs horizontally or pointed-end down. Ensure spacing between eggs for airflow. Label with a pencil if turning manually (mark “X” and “O” on opposite sides).
6. Turning the Eggs Properly
Embryos can stick to shell membranes without frequent turning.
Manual vs. Automatic Turning
- Manual: 3–5 times/day, consistent schedule
- Automatic turners: Built-in or add-on devices that rotate eggs gently
Stop turning eggs at day 18 — the chicks need to position themselves for hatching.
7. Monitoring and Adjusting Temperature & Humidity
Use dual thermometers and check 3x/day. Adjust water trays or add sponges to increase humidity. Too much moisture can drown chicks; too little causes shrink-wrapped shells.
What Happens When It’s Too Dry or Too Wet?
| Issue | Symptoms | Fix |
| Too Dry | Sticky chicks, late hatch | Add water, increase humidity |
| Too Wet | Chicks drown, don’t pip | Increase ventilation, reduce moisture early |
8. Candling Eggs to Check Development
Use an egg candler or a strong flashlight in a dark room.
When and How to Candle Eggs
| Day | What to Expect |
| Day 7 | Veins, embryo movement |
| Day 14 | Growing chick, dark mass |
| Day 18 | Full chick, air cell expansion |
Discard infertile or dead embryos to avoid contamination.
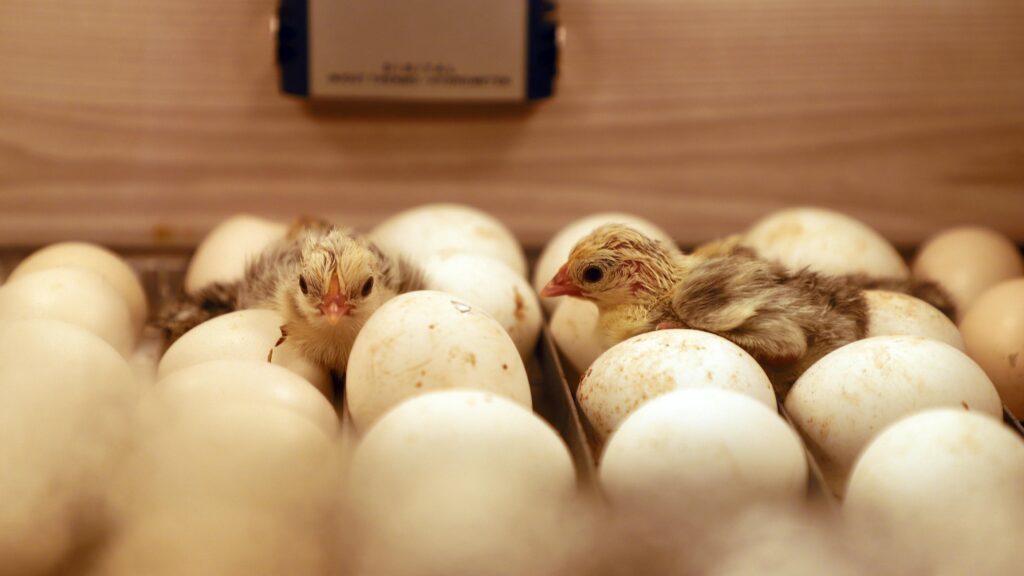
Photo by 경북 김
9. Lockdown Period: Day 18 to Hatch
This is the final stretch.
Stopping Egg Turning
No more turning from day 18 onward — chicks are positioning themselves to hatch.
Increasing Humidity for Hatching
Raise humidity to 65–70% to help chicks break through the shell without drying out.
10. Hatching Day: What to Expect
The moment you’ve waited for!
Signs of Pipping and Zipping
- Pip: First tiny hole in the shell
- Zip: Chicks crack the shell around the circumference
Chicks may take up to 24 hours to fully hatch after pipping.
When to Assist a Chick (If Needed)
Only assist if:
- It’s been over 24 hours after pipping
- Membranes look dry or shrink-wrapped
Be cautious—early or rough intervention can do more harm than good.
Troubleshooting Common Problems
Infertile Eggs and Early Death
- Common causes: Poor nutrition, rooster infertility, dirty eggs
- Solution: Improve breeder flock health, use clean collection methods
Late Hatches or Deformities
- Often due to incorrect temperature or humidity
- Keep logs to track trends and improve future hatches
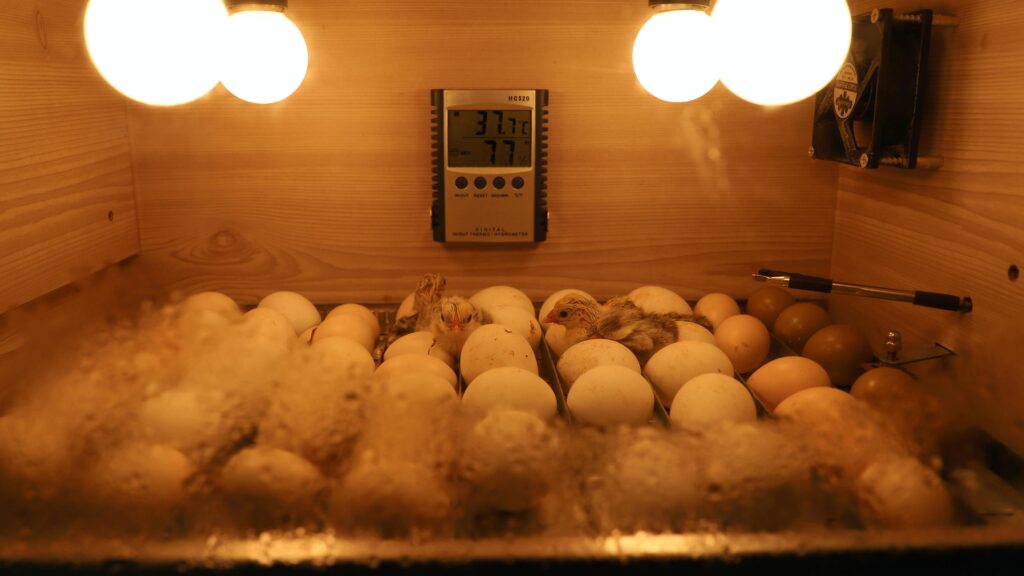
Photo by 경북 김
FAQs
1. Can I incubate store-bought eggs?
No. Commercial eggs are typically not fertilized and will not develop into chicks.
2. What happens if power goes out during incubation?
Short outages (under 6 hours) usually aren’t fatal. Keep incubator closed and warm with towels.
3. Can I reuse an incubator without cleaning it?
Absolutely not. Always disinfect between uses to avoid bacterial contamination.
4. How do I know if an egg is fertile before incubating?
You can’t tell externally. Candling after 7 days is the only reliable method.
5. What’s the best humidity level for hatching chicks?
Aim for 65–70% in the final three days before hatching.
6. Why did my chicks hatch but die shortly after?
This is often due to poor humidity, bacterial infection, or incorrect temperatures during incubation.
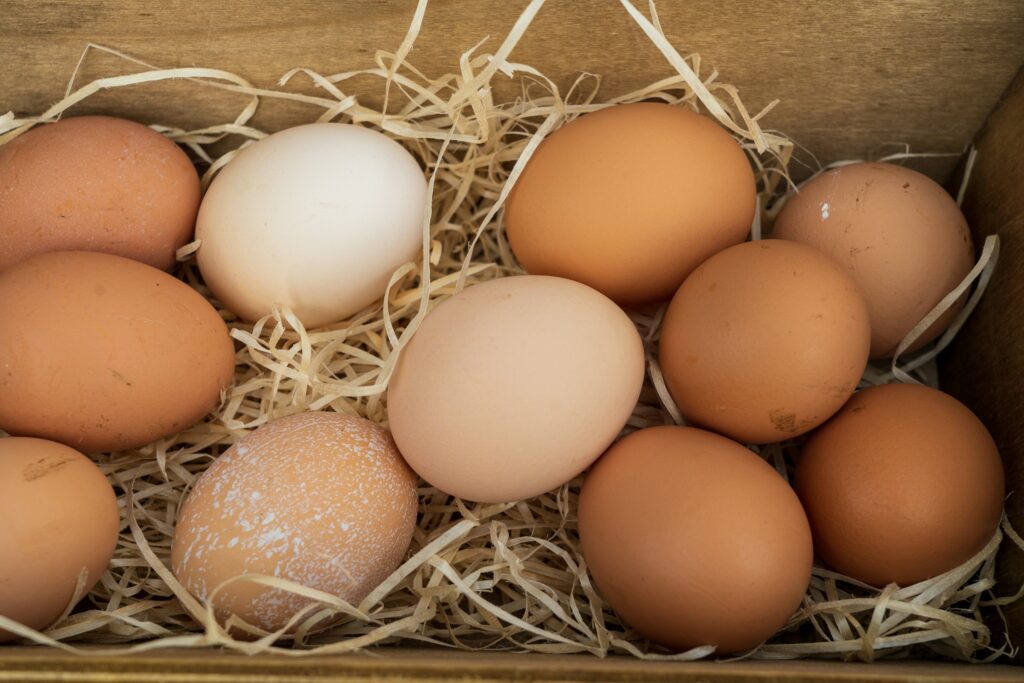
Photo by Nick Fewings on Unsplash
Conclusion
Incubating chicken eggs successfully takes patience, precision, and a little bit of science. With the right equipment and the steps outlined above, you’ll greatly improve your hatch rate and bring healthy new chicks into the world. Whether you’re raising chickens for eggs, meat, or as beloved backyard pets — a well-executed incubation process is the first step toward a thriving flock.