Why Cleaning Your Chicken Coop Is Crucial
Regularly cleaning your chicken coop helps prevent disease, reduce odors, and keep pests like mites and rodents at bay. A clean coop contributes to higher egg production and ensures your flock lives in a stress-free, sanitary environment.
Pathogens like salmonella, E. coli, and parasites thrive in dirty environments. So if you’re serious about backyard chicken keeping, this isn’t just about aesthetics—it’s about your flock’s long-term health.

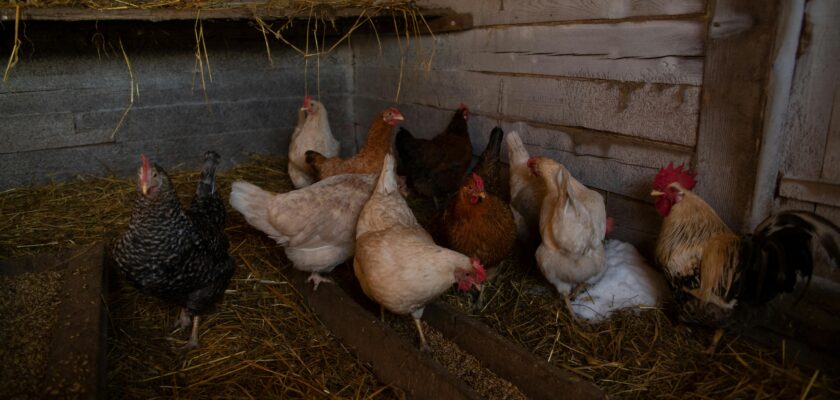
Photo by Brooke Cagle on Unsplash
When to Clean Your Chicken Coop
- Light Cleaning (Spot clean): Daily or every other day
- Medium Cleaning: Weekly
- Deep Cleaning: Monthly or quarterly, depending on flock size and climate
Tip: Do a deep clean more frequently during rainy or cold seasons when bacteria thrive in moist bedding.
Supplies You’ll Need to Clean a Chicken Coop
Here’s a checklist of must-have tools:
| Item | Purpose |
| Gloves | Protect hands from waste and chemicals |
| Dust mask | Prevent inhalation of particles |
| Shovel or pitchfork | Remove bedding and manure |
| Scraper or putty knife | Detach dried droppings |
| Non-toxic coop cleaner | Disinfect without harming chickens |
| Vinegar or lime spray | Natural disinfectant |
| Water hose or pressure sprayer | Rinse coop surfaces |
| Broom and dustpan | Sweep debris |
| Fresh bedding | Replace old material |
| Diatomaceous earth or herbs | Pest control |
Preparing the Coop for Cleaning
Safely Removing the Chickens
Before you start, remove the chickens and place them in a secure, shaded pen. Make sure they have access to water and food while you clean.
Ventilation Tips Before Cleaning
Open all windows and vents. Good airflow will reduce exposure to ammonia fumes and help dry the coop quickly afterward.
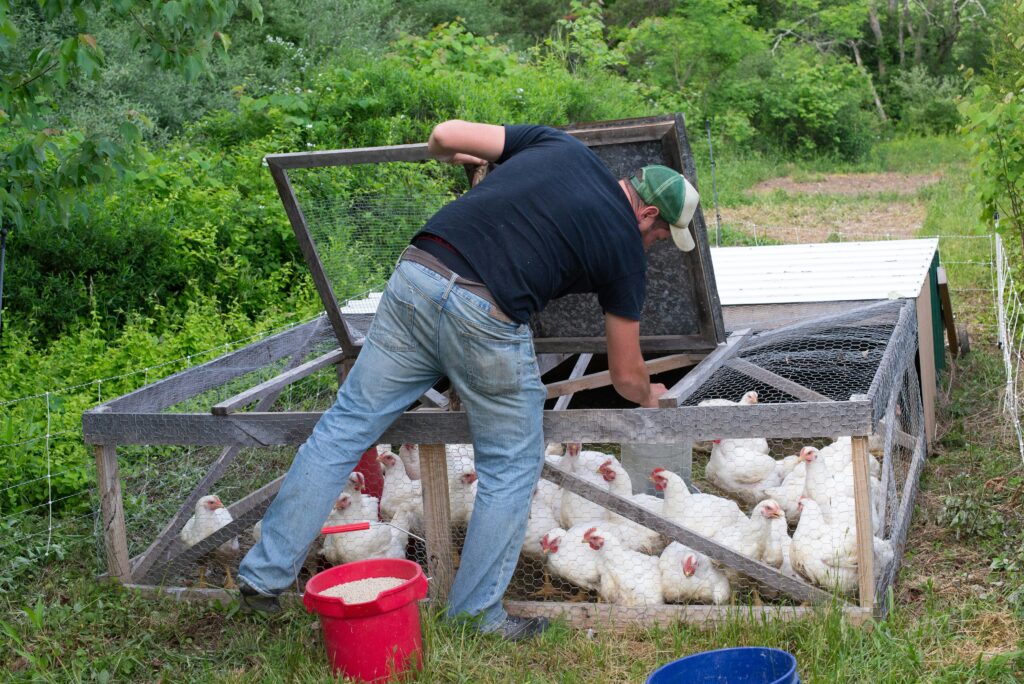
Photo by Zoe Richardson on Unsplash
Step-by-Step Chicken Coop Cleaning Guide
Step 1: Remove All Bedding and Waste
Start by shoveling out old straw, shavings, feathers, and droppings. Place this material in a compost bin or discard it properly.
Step 2: Scrape Off Dried Droppings and Feathers
Use a scraper or putty knife to remove stubborn droppings from walls, roosting bars, and nesting boxes.
Step 3: Use a Safe, Non-Toxic Cleaner
Choose a cleaner specifically made for animal enclosures. Alternatively, mix white vinegar with water (1:1 ratio) to disinfect.
Step 4: Rinse and Air-Dry the Coop
Use a hose or pressure sprayer to wash down all surfaces. Allow the coop to fully air-dry before adding new materials.
Step 5: Disinfect with Natural Agents (Like Vinegar or Lime)
Apply vinegar or hydrated lime to walls and floors to kill remaining bacteria. Let sit for 15–30 minutes before rinsing.
Step 6: Clean the Nesting Boxes and Roosting Bars
Soak and scrub removable parts with warm soapy water, then rinse and dry. These are high-contact zones that need extra attention.
Step 7: Replace Bedding with Fresh Straw or Pine Shavings
Add a thick layer of clean bedding (2–4 inches). Avoid cedar as its oils can be harmful to chickens.
Step 8: Add Natural Pest Repellents (Herbs, Diatomaceous Earth)
Sprinkle diatomaceous earth in corners and under bedding. Add herbs like mint or lavender for a natural repellent and a fresh smell.
Step 9: Inspect for Repairs or Rodent Damage
Look for signs of wear, broken mesh, or rodent entry points. Seal any gaps to prevent future infestations.
Step 10: Return Chickens and Monitor
Once dry and clean, reintroduce your flock. Observe them over the next few hours to ensure they adjust comfortably.
Best Bedding Options for a Clean Coop
- Pine Shavings: Absorbent and low-dust
- Straw: Inexpensive but less absorbent
- Hemp: Eco-friendly and ultra-absorbent
- Sand: Easy to sift, low odor
Avoid cedar and paper-based products that can trap moisture or emit harmful fumes.
How Often Should You Deep Clean vs. Spot Clean?
| Cleaning Type | Frequency | Key Tasks |
| Spot Clean | Daily | Remove obvious droppings and replace bedding |
| Medium Clean | Weekly | Scrape surfaces, refresh nesting boxes |
| Deep Clean | Monthly/Quarterly | Full emptying, washing, disinfecting |
Common Mistakes to Avoid When Cleaning Your Coop
- Using harsh chemicals – Can harm chickens
- Not wearing a mask – Risk of inhaling dust or ammonia
- Leaving bedding wet – Leads to mold and bacteria
- Skipping ventilation – Slows drying and increases odor
- Reintroducing chickens too soon – Can expose them to damp surfaces
Tips to Keep the Coop Cleaner for Longer
- Use droppings boards under roosts
- Switch to sand or hemp for easier maintenance
- Place feed and water outside the coop
- Rotate bedding more often during wet seasons
- Seal entry points to keep pests out
Safety Precautions During Coop Cleaning
- Wear gloves, goggles, and a mask
- Avoid bleach or ammonia
- Keep kids and pets away
- Store cleaning agents safely
- Work during dry weather for better drying time
FAQs About Cleaning Chicken Coops
1. Can I use bleach to clean my chicken coop?
It’s not recommended unless heavily diluted and rinsed thoroughly. Bleach fumes can be harmful to chickens.
2. How do I control mites during cleaning?
Use diatomaceous earth or herbal sprays like neem oil after cleaning to deter mites.
3. What should I do with old bedding?
Compost it! Chicken manure is rich in nitrogen and great for gardens once aged.
4. How do I reduce odor between deep cleans?
Use sand bedding, clean droppings daily, and sprinkle baking soda under bedding.
5. Is vinegar safe to use around chickens?
Yes, white vinegar is a natural, non-toxic cleaner that disinfects without harming birds.
6. How can I tell if my coop needs more frequent cleaning?
Foul smell, flies, and dirty eggs are red flags that your schedule needs adjusting.
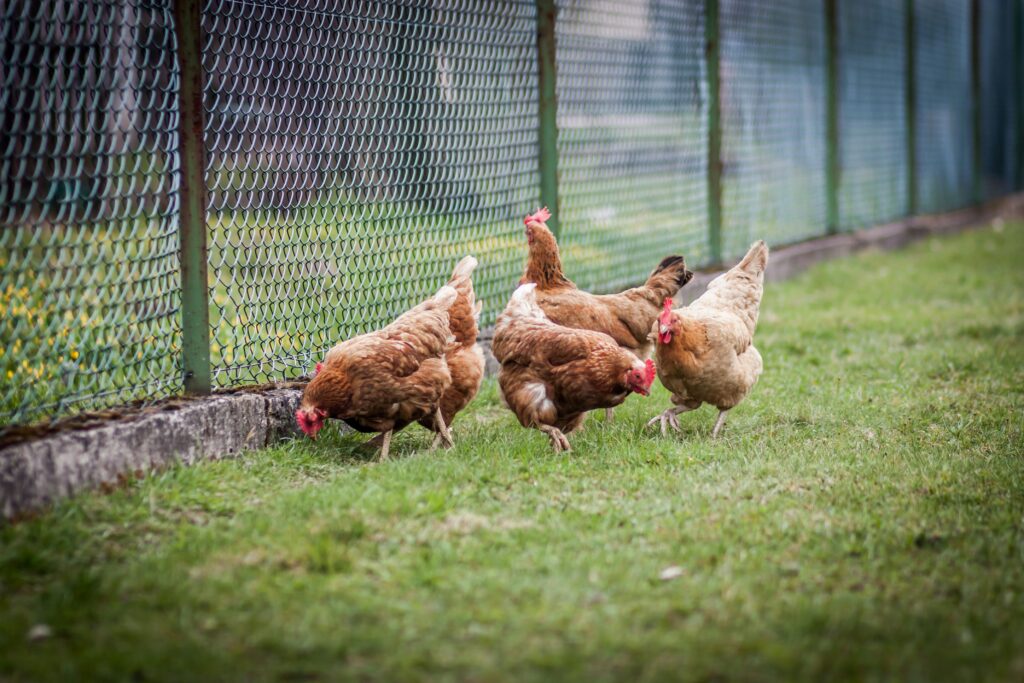
Photo by Jan Kraus on Unsplash
Conclusion
Cleaning your chicken coop isn’t just about keeping things tidy—it’s about safeguarding the health and happiness of your flock. With the right tools, a solid routine, and natural cleaners, you’ll create a safer, fresher home for your hens. Follow these 10 easy steps regularly, and your chickens will reward you with healthier lives and more eggs.