Introduction: Why Building a Coop Matters
Raising backyard chickens isn’t just a fun hobby—it’s a step toward self-sufficiency and sustainable living. Building a chicken coop is one of the most rewarding DIY projects you can tackle, providing your hens with a safe, comfortable, and happy home. Not only does a well-built coop protect your flock from predators and harsh weather, but it also ensures optimal egg production. Let’s dive into everything you need to know to build a chicken coop that both you and your chickens will love!

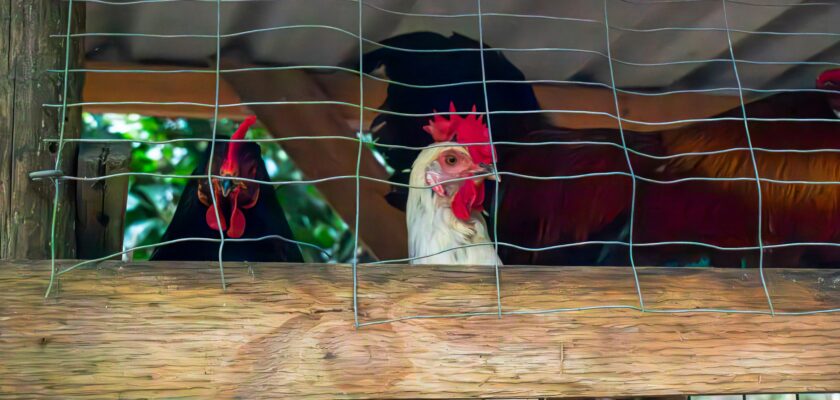
Image by Miguel Á. Padriñán from Pixabay
Essential Tools and Materials Checklist
Before you grab that hammer, make sure you have these essentials ready:
Tools:
- Hammer
- Cordless drill
- Saw (circular or hand saw)
- Measuring tape
- Carpenter’s square
- Level
- Screwdriver
- Staple gun
- Shovel
Materials:
- 2×4 lumber
- Plywood sheets
- Roofing materials (shingles or metal)
- Chicken wire or hardware cloth
- Hinges and locks
- Screws and nails
- Waterproof sealant or paint
- Sand or gravel for foundation
- Insulation material (optional)
Having everything in place makes the process smoother, saves time, and prevents those annoying mid-project hardware store runs!
Step 1: Planning Your Chicken Coop
First things first: planning is everything. You should ask yourself:
- How many chickens will I keep?
- What’s my budget?
- Do I want a movable coop (chicken tractor) or a permanent one?
Jot down your answers and draft a rough timeline. Trust me, a little upfront planning saves a ton of headaches later on!
Step 2: Choosing the Perfect Location
Chickens need:
- Sunlight for warmth
- Shade to avoid overheating
- Dry, elevated ground to prevent flooding
- Shelter from wind
A south-facing location with partial shade is ideal. Make sure the coop is easily accessible for daily care and egg collection, too.
Step 3: Determining the Right Size
The general rule? Allow 2-3 square feet per chicken inside the coop and 8-10 square feet per chicken in the run.
| Number of Chickens | Coop Size Needed | Run Size Needed |
| 4 | 8-12 sq ft | 32-40 sq ft |
| 6 | 12-18 sq ft | 48-60 sq ft |
| 10 | 20-30 sq ft | 80-100 sq ft |
When in doubt, go bigger—you’ll thank yourself later!
Step 4: Sketching a Basic Design
A simple sketch helps you visualize your dream coop. Include:
- Overall dimensions
- Door and window placements
- Nesting boxes
- Roosting bars
- Run attachment
You don’t need to be an architect; even a rough pencil drawing on a napkin will do!
Step 5: Building a Strong Foundation
You’ve got a couple of options here:
- Concrete slab (best for permanent coops)
- Gravel base (good drainage)
- Paver stones (affordable and quick)
If predators like raccoons are common in your area, consider burying wire mesh around the foundation for extra protection.

Photo by Sophie Mikat on Unsplash
Step 6: Framing the Coop Structure
Now the real fun begins!
- Build the base frame first
- Attach upright posts
- Add top plates for stability
- Frame openings for doors and windows
Use a carpenter’s square to keep everything nice and straight. It’s worth the extra effort to ensure a sturdy and safe coop.
Step 7: Adding Durable Walls and Roof
- Cover the frame with exterior-grade plywood.
- Install roof trusses to give the coop a strong backbone.
- Attach your roofing material—asphalt shingles, corrugated metal, or plastic roofing panels work great.
Remember: a well-sealed roof is your flock’s first defense against rain and snow!
Step 8: Installing Nesting Boxes and Roosts
Nesting Boxes:
- One box for every 3-4 hens
- Size: roughly 12″x12″x12″
- Place them slightly above ground level
Roosting Bars:
- Chickens naturally sleep on roosts
- Install bars 2-3 feet off the floor
- Use rounded edges to avoid foot injuries
Hens prefer cozy, quiet spots for laying—think dark corners!
Step 9: Ventilation and Insulation Essentials
Good airflow is non-negotiable.
- Install vents near the roofline
- Add windows with predator-proof mesh
- Avoid drafts at the roost level
For colder climates, adding foam board insulation between the walls helps keep temperatures stable year-round.
Step 10: Creating a Safe Chicken Run
Your chickens will love an outdoor space to scratch and peck!
- Enclose the area with hardware cloth (stronger than chicken wire)
- Bury wire 12 inches underground to thwart diggers
- Provide some shaded areas to prevent heatstroke
Consider building a covered run if hawks or heavy rain are common in your area.

Photo by Marius Karotkis on Unsplash
Step 11: Installing Doors and Access Points
- Add a human-sized door for easy cleaning
- Install a chicken door (pop door) for your flock’s daily adventures
- Use sturdy locks to outsmart clever predators like raccoons
Automatic chicken doors are a great upgrade if you want to sleep in on weekends!
Step 12: Predator-Proofing Your Coop
Safety tips to keep in mind:
- Use hardware cloth instead of chicken wire
- Lock up at dusk—predators are most active at night
- Reinforce all windows, vents, and corners
- Consider installing motion-activated lights
A little extra effort now can save your flock from danger down the road.
Step 13: Painting and Weatherproofing
Protect your investment by:
- Using non-toxic, outdoor-rated paint
- Sealing every nook and cranny
- Applying weatherproof stain to wooden elements
Not only will your coop last longer, but a colorful paint job can also add a little backyard charm!
Step 14: Furnishing and Decorating the Coop
Time for the finishing touches:
- Add straw or wood shavings for bedding
- Hang a small feeder and waterer
- Install treat dispensers or perches
- Customize with signs, flower boxes, or fairy lights
Happy chickens = more eggs!
Step 15: Routine Maintenance and Cleaning Tips
Maintenance is key to a healthy flock:
- Daily: Collect eggs, check food and water
- Weekly: Replace bedding, inspect for predators
- Monthly: Deep clean the coop with safe cleaners
- Seasonally: Inspect for damage and reinforce if needed
Chickens are hardy, but a clean environment keeps diseases at bay.
6+ FAQs About Building a Chicken Coop
1. How much does it cost to build a chicken coop?
Expect to spend between $200 to $1000 depending on materials and size.
2. Can I build a chicken coop without a permit?
Some local laws require a permit. Check your city’s regulations before starting.
3. How do I keep my chicken coop from smelling?
Regular cleaning, good ventilation, and dry bedding are key to a fresh-smelling coop.
4. How often should I clean the chicken coop?
Light cleaning weekly and deep cleaning monthly works best.
5. What’s the best wood for a chicken coop?
Pressure-treated lumber for frames; untreated plywood for walls to avoid harmful chemicals.
6. How do I winterize my chicken coop?
Add insulation, block drafts, provide extra bedding, and use a heated waterer if necessary.
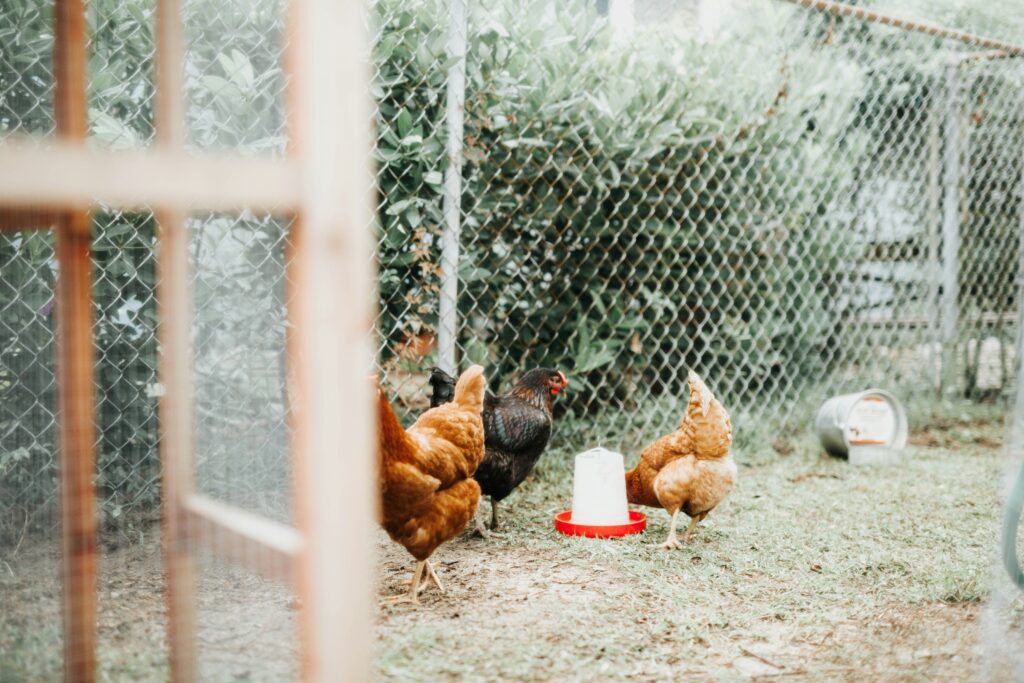
Photo by Annie Williams on Unsplash
Conclusion
Building a chicken coop from scratch may seem like a big project, but with a solid plan, the right tools, and a little determination, you’ll create a home your chickens will thrive in. Every step you take—from location scouting to final decorating—adds value and happiness to your flock’s life. Plus, there’s no better feeling than gathering fresh eggs from a coop you built yourself!