Introduction: Why Build Your Own Chicken Coop and Run
Raising backyard chickens isn’t just a hobby anymore—it’s a lifestyle! Building your own DIY chicken coop and run gives you full control over the health, happiness, and safety of your flock. Plus, it’s a fulfilling project that saves money and can even become a fun family activity.
Today, backyard chickens provide fresh eggs, pest control, and even entertainment. And building a custom chicken coop? That’s where the real magic begins. You get to design everything from the ground up, ensuring your chickens are comfy, cozy, and secure.
Let’s dive into how to create the perfect DIY chicken coop and run, step-by-step!
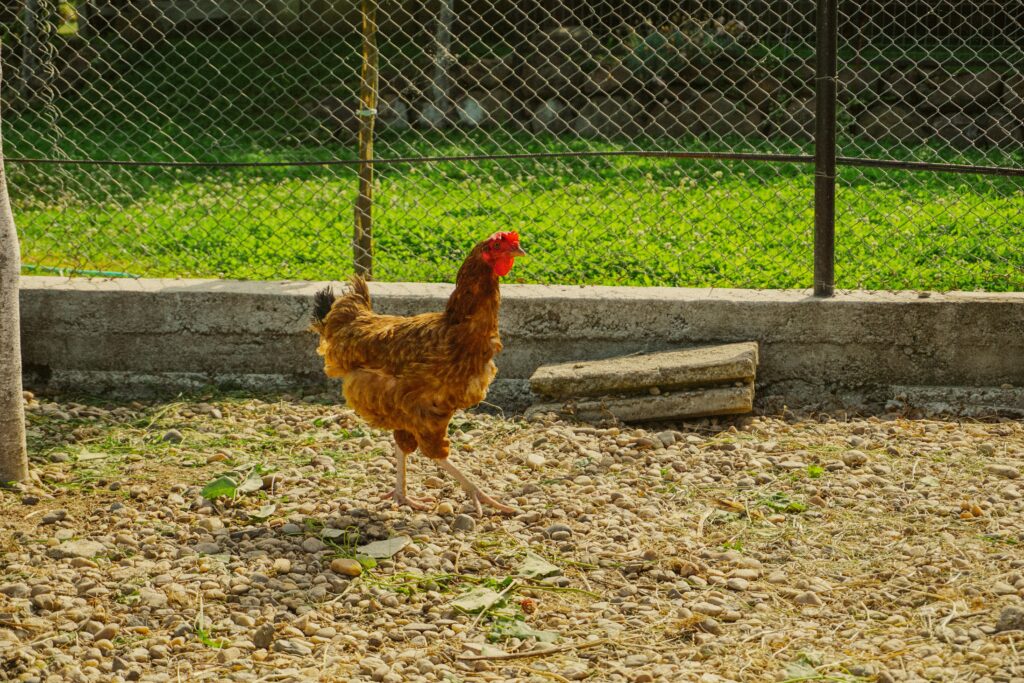
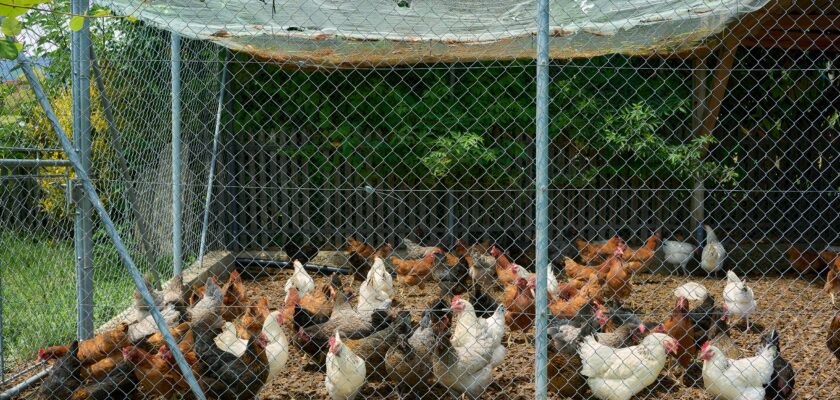
Photo by Lucut Razvan on Unsplash
Step 1: Choosing the Right Location
Choosing the right spot is mission-critical. Chickens need protection from harsh weather, predators, and excessive noise.
- Sunlight: Ensure they get enough morning sun but afternoon shade.
- Drainage: Pick an area with good drainage to avoid muddy disasters.
- Proximity: Build close enough to your house for easy monitoring.
Step 2: Planning Your Chicken Coop Size
The golden rule: Bigger is better.
Each chicken needs at least 4 square feet inside the coop and 10 square feet outside.
| Number of Chickens | Coop Size Needed |
| 4 Chickens | 16 sq ft |
| 8 Chickens | 32 sq ft |
| 12 Chickens | 48 sq ft |
Give them plenty of room to roam. Happy hens = more eggs!
Step 3: Gathering Essential Materials and Tools
Before swinging that hammer, gather your materials. Here’s a quick checklist:
- Pressure-treated wood
- Chicken wire or hardware cloth
- Roofing material (metal or shingles)
- Hinges and latches
- Screws, nails, staples
- Drill, saw, hammer, measuring tape
You don’t need fancy tools—just the right ones!
Step 4: Building a Strong Foundation
Strong foundations = sturdy coops.
- Concrete slab: Ideal for permanent coops.
- Wooden frame: Great for mobile or lightweight coops.
- Paver stones: A middle-ground option for flexibility.
This step also protects your flock from digging predators like raccoons and foxes!
Step 5: Framing Your Coop Properly
Time to put up the bones of your chicken mansion.
- Frame all four walls first.
- Reinforce the corners heavily.
- Include space for a human-sized door (you’ll thank yourself later!).
A rock-solid frame makes the rest of the project a breeze.
Step 6: Installing Walls and Roof
Enclose the coop to keep your flock safe and warm:
- Walls: Use durable siding or plywood treated for outdoor use.
- Roof: Angle it for water runoff. A slanted or pitched roof works best.
Don’t cut corners here—rain, snow, and wind are relentless!
Step 7: Ventilation Matters
Here’s a secret: Good ventilation = healthy chickens.
Install vents near the roofline but away from drafts hitting roosting birds. Proper airflow prevents respiratory diseases, mold, and odor buildup.
Pro Tip: Hardware cloth vents > chicken wire vents for durability.
Step 8: Designing the Chicken Run
A good run means happier, healthier birds.
- Minimum 10 square feet per chicken.
- Enclose the top to protect against hawks.
- Use hardware cloth, not flimsy chicken wire.
Bonus Tip: Add natural elements like logs or perches for extra chicken fun.
Step 9: Flooring Options for Coops and Runs
Choosing the right floor prevents mess and disease:
| Flooring Type | Pros | Cons |
| Dirt | Natural, cheap | Muddy, hard to clean |
| Concrete | Durable, easy to clean | Expensive |
| Wood | Comfortable, easy DIY | Requires sealing |
Layer bedding (pine shavings, straw) for extra comfort and cleanliness.
Step 10: Nesting Boxes and Roosting Bars
Home sweet home for egg-laying queens!
- Nesting Boxes: One box for every 3-4 hens.
- Roosting Bars: 2-4 feet off the ground.
Line nesting boxes with soft bedding. Chickens love comfy spaces to lay.
Step 11: Predator-Proofing Your Coop and Run
Protect your investment (and your birds!).
- Bury wire 12 inches underground around the coop.
- Lock all doors and openings with predator-proof latches.
- Cover windows and vents with hardware cloth.
An ounce of prevention is worth a pound of chickens.
Step 12: Adding Feeders and Waterers
Place feeders and waterers at back height to reduce mess.
- Use hanging feeders to deter pests.
- Keep water fresh, clean, and shaded in summer.
Tip: Nipple waterers minimize spills and contamination!
Step 13: Lighting and Heating Considerations
You don’t need to turn your coop into a spa, but:
- Add a solar-powered light for winter laying boosts.
- Provide safe heaters only if temps drop below freezing.
Never use open flames or heat lamps—huge fire risks!
Step 14: Regular Maintenance Tips
Keeping things clean and in good repair keeps chickens healthy.
- Daily: Refill food and water.
- Weekly: Remove soiled bedding and spot clean.
- Monthly: Deep-clean the coop, replace bedding fully.
Stay on top of small issues before they become big (and expensive) problems.
Step 15: Budget-Friendly Tips for Your DIY Coop
Building a chicken coop doesn’t have to break the bank:
- Recycle old lumber and pallets.
- Check Craigslist or Facebook Marketplace for free materials.
- Buy supplies during sales seasons (spring and fall!).
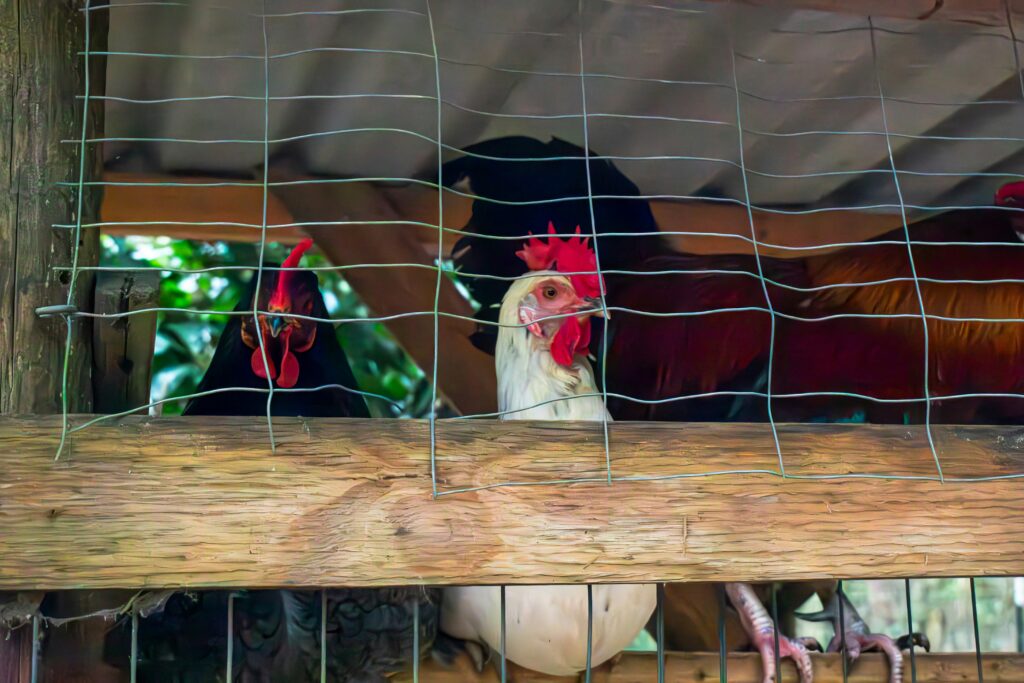
Photo by Chelsey Marques on Unsplash
FAQs About Building a DIY Chicken Coop and Run
1. How much does it cost to build a DIY chicken coop?
It depends! You could spend anywhere from $100 using reclaimed materials to $1,000+ for large, fancy setups.
2. How many nesting boxes do I need?
Plan for one box per 3-4 hens to avoid crowding and territorial battles.
3. Can I build a chicken coop without a run?
Technically, yes. But chickens need outdoor time to stay healthy and happy. Always build a run if possible.
4. What’s the best wood for building a chicken coop?
Pressure-treated lumber is durable and resistant to rot and pests—perfect for outdoor use.
5. How do I make my coop predator-proof?
Use hardware cloth instead of chicken wire, bury fencing, and lock up tight at night.
6. Do I need a permit to build a chicken coop?
Check with your local zoning office. Some urban areas have restrictions on backyard chickens or coop sizes.

Photo by ANGELA NEWMAN on Unsplash
Conclusion: Start Building Your Dream Coop Today
Building your DIY chicken coop and run is an adventure—and it’s one that pays off big time. You’ll have healthier chickens, fresher eggs, and a deeper connection to your food source. Plus, there’s a huge sense of satisfaction that comes from creating something with your own two hands.