
Why Insulating a Chicken Coop Matters
Chickens are hardy, but extreme temperatures can take a serious toll on their health. Insulating your chicken coop ensures:
- Consistent warmth during cold winters
- Protection from excessive heat in summers
- Improved egg production
- Reduced feed consumption due to less energy spent maintaining body temperature
Ultimately, insulation isn’t a luxury—it’s an essential upgrade for any serious poultry keeper.
Photo by Michelle Tresemer on Unsplash
Key Factors to Consider Before Insulating
Before grabbing your tools, evaluate the following:
- Climate: Colder climates need thicker insulation; hot regions require radiant barriers.
- Coop Size and Design: Some designs naturally hold heat better than others.
- Flock Size: More chickens = more body heat, but also more humidity.
- Ventilation: Insulation without ventilation can cause harmful moisture buildup.
Being mindful of these variables sets the stage for a successful insulation project.
Top 9 Materials for Chicken Coop Insulation
Choosing the right material is half the battle. Here’s a roundup of the best options:
1. Rigid Foam Boards
- Excellent R-value (insulation rating)
- Lightweight and moisture-resistant
- Easy to cut and install
Tip: Cover with plywood to prevent pecking.
2. Fiberglass Insulation
- High performance but must be handled carefully.
- Needs to be covered to prevent chicken contact.
Note: Always wear gloves and a mask during installation.
3. Spray Foam Insulation
- Perfect for sealing tiny cracks and hard-to-reach areas.
- Creates a seamless barrier against drafts.
Warning: Some spray foams emit gases—choose poultry-safe products.
4. Reflective Foil Insulation
- Reflects heat back into the coop during winter.
- Lightweight and mold-resistant.
Pro Tip: Pair with other materials for colder climates.
5. Recycled Denim Insulation
- Eco-friendly and non-toxic.
- Provides sound insulation as a bonus.
Caveat: Needs protection from moisture.
6. Straw Bales
- Old-school but effective.
- Cheap and locally available.
Heads-up: Straw can harbor pests if not properly maintained.
7. Bubble Wrap Insulation
- Budget-friendly DIY solution.
- Works surprisingly well when layered.
Hint: Use larger bubbles for better performance.
8. Blown-In Cellulose
- Great for oddly shaped areas.
- Made from recycled paper treated to resist fire and pests.
Con: Installation requires special equipment.
9. Wool Insulation
- Natural, breathable, moisture-wicking.
- Perfect balance of warmth and ventilation.
Insider tip: Sourced locally, wool can be cost-effective too.
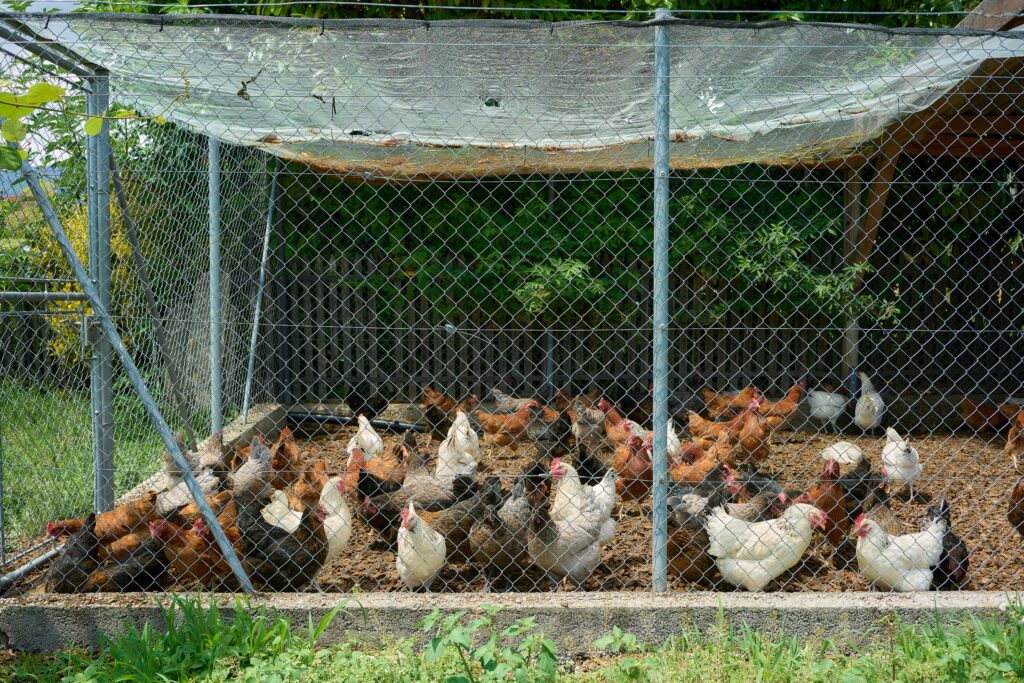
Photo by Steffen Lemmerzahl on Unsplash
Step-by-Step Guide to Insulating Your Chicken Coop
Follow these practical steps to get the job done:
Inspect and Clean the Coop
- Remove old bedding and debris.
- Check for mold, leaks, and infestations.
- Repair any damage before starting insulation.
Install Base Insulation Material
- Focus on walls and floors first.
- Secure insulation panels or batts tightly to the surface.
- Overlap seams to minimize gaps.
Seal All Gaps and Cracks
- Use weather-resistant caulk or expandable foam spray.
- Pay attention to doors, windows, and joints.
Ventilation Considerations
- Add vents near the roof.
- Install adjustable vents to regulate airflow seasonally.
Add Interior Protective Layers
- Cover insulation with plywood or hardware cloth.
- Protects from pecking, moisture, and damage.
Common Mistakes to Avoid When Insulating a Chicken Coop
- Ignoring Ventilation: Leads to condensation, frostbite, and respiratory issues.
- Choosing Toxic Materials: Always prioritize non-toxic, animal-safe options.
- Insulating Only Walls: Floors and ceilings matter just as much!
- Poor Maintenance: Regular checks are crucial to maintaining effectiveness.
Photo by Mandell Smock on Unsplash
How to Maintain Your Insulated Coop Throughout the Year
- Winter: Check for drafts and add extra bedding.
- Spring: Air out to reduce moisture buildup.
- Summer: Adjust ventilation to release trapped heat.
- Fall: Inspect and repair before first frost.
Regular upkeep ensures year-round protection and happier chickens.
FAQs About Chicken Coop Insulation
Q1: Can I use household insulation materials in my coop?
Yes, but ensure they’re covered and non-toxic.
Q2: What’s the best budget-friendly insulation?
Straw bales or bubble wrap work well for tight budgets.
Q3: How much ventilation does an insulated coop need?
Ideally, 1 square foot of vent space per 10 chickens.
Q4: Does insulation attract pests?
It can if not installed properly—seal gaps and check regularly.
Q5: Should I insulate my coop if I live in a warm climate?
Yes, to protect chickens from extreme heat and maintain airflow.
Q6: How thick should insulation be?
Aim for 2–4 inches depending on your climate zone.

Photo by Niklas Neuwelt on Unsplash
Conclusion
Insulating your chicken coop isn’t just a winter project—it’s a year-round investment in your flock’s health and productivity. With the right materials, careful installation, and proper maintenance, you can create a cozy, safe environment for your chickens no matter the season. Ready to start building a better home for your hens? It’s easier—and more rewarding—than you think!