Introduction
The incubation period for chicken eggs typically lasts 21 days. This countdown starts the moment the eggs are consistently kept at the ideal temperature of 99.5°F (37.5°C) with proper humidity and ventilation.
Whether you’re using an automatic incubator or relying on a broody hen, maintaining the right conditions is key to hatching success. Each day plays a vital role in the chick’s development—missing a beat can result in failure to hatch.
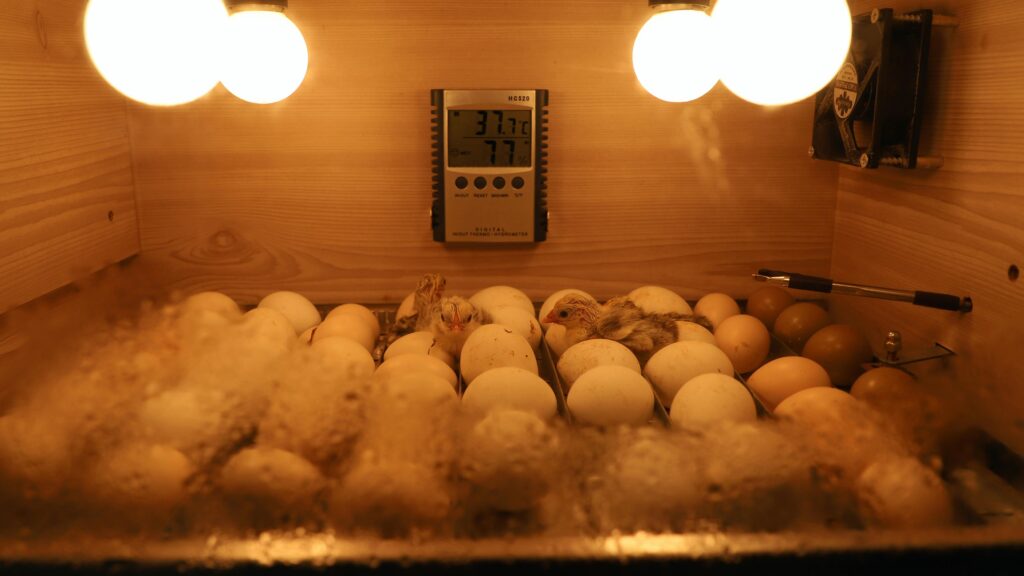
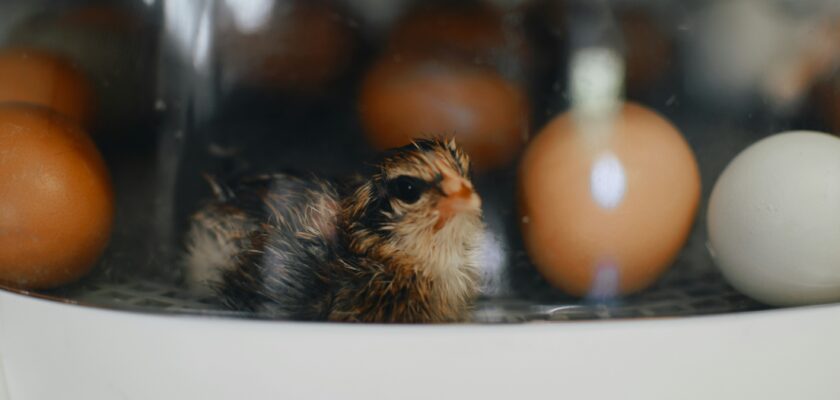
Photo by 경북 김
What is the Ideal Incubation Period for Chicken Eggs?
Chicken eggs incubate for exactly 21 days, but this isn’t just a waiting game—each day matters.
Breakdown of the 21-Day Cycle:
| Days | Development Stage |
| 1–7 | Embryo forms, spine, heart, eyes visible |
| 8–14 | Feather growth, beak and claws form |
| 15–18 | Final growth spurt, internal organs mature |
| 19–21 | Positioning for hatching, internal/external pip |
By day 18, you should stop turning the eggs and increase the humidity to help soften the shell.
Critical Temperature and Humidity Settings
A stable incubation environment is everything. Here are the exact parameters for success:
- Temperature: 99.5°F (ideal), with no more than ±1°F variation
- Humidity:
- Days 1–17: ~50–55%
- Days 18–21: increase to 65–70%
- Days 1–17: ~50–55%
Too dry, and chicks can become shrink-wrapped. Too humid, and they may drown internally.
Use a reliable hygrometer and thermometer combo—digital ones tend to be more accurate than analog.
Fertile Eggs vs Infertile Eggs
Not all eggs are created equal. A fertile egg is one that has been fertilized by a rooster and contains a developing embryo.
Identifying Fertile Eggs:
- By Candling (Day 7): Look for visible blood vessels and movement.
- Before Incubation: There’s no visual way to confirm fertility; sourcing from reputable breeders helps.
Storage tips:
- Keep unwashed eggs at 50–60°F
- Use within 7 days for best hatch rate
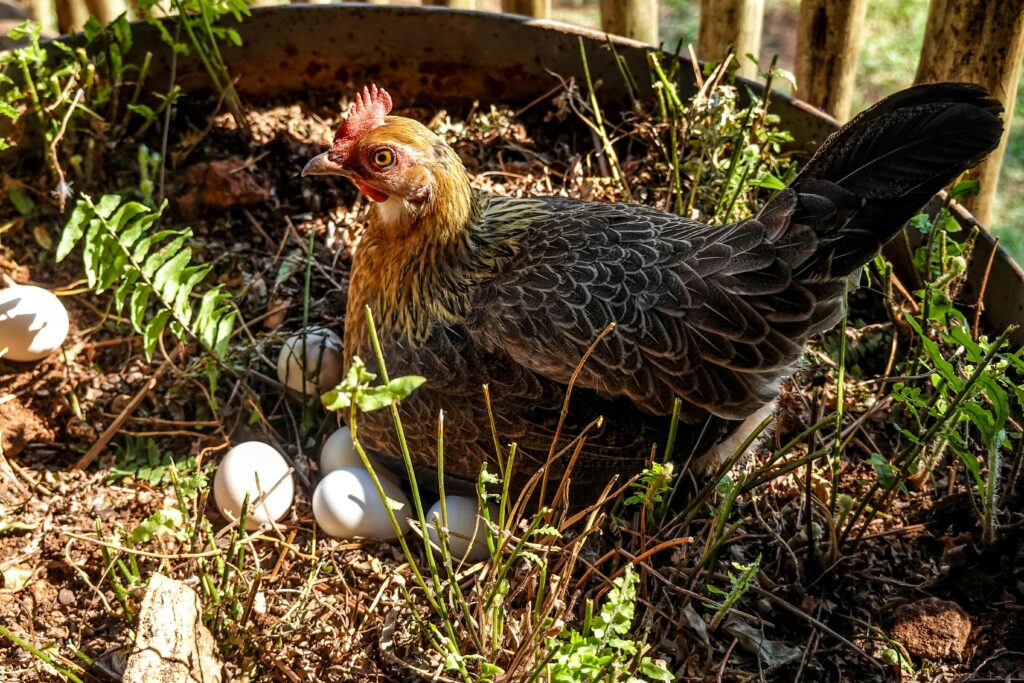
Photo by Magda Ehlers
Natural vs Artificial Incubation
Both methods work, but each has its pros and cons:
| Factor | Broody Hen | Incubator |
| Control | Low | High |
| Cost | Free | Moderate to high |
| Reliability | Varies by hen | Consistent |
| Scale | Limited | Scalable |
Natural incubation is hands-off, while artificial gives you full control over the process.
Choosing the Right Incubator
There are several types of incubators, including:
- Still Air – budget-friendly but needs manual turning
- Forced Air – has a fan for even heat distribution
- Automatic – controls temperature, humidity, and turning
For beginners, a forced air automatic incubator offers the highest success rate.
Setting Up Your Incubator Correctly
Setup Checklist:
- Preheat 24 hours before adding eggs
- Place in a draft-free room
- Calibrate thermometers and hygrometers
- Fill water channels correctly
Let it stabilize for at least 12 hours after setup.
Turning Eggs During Incubation
Turning keeps the embryo from sticking to the shell membrane.
- Manual Turning: At least 3x/day (morning, noon, night)
- Automatic Turning: Every 1–2 hours
- Stop on Day 18: Let chicks settle into hatch position
Marking eggs with an “X” and “O” helps track rotation if doing it manually.
What to Expect on Each Week of Incubation
Week 1:
- Heartbeat begins by day 3
- Eyespots and blood vessels visible by day 7
Week 2:
- Beak, limbs, and feathers form
- Movement increases
Week 3:
- Chicks absorb yolk sac
- Internal pip (into air cell)
- External pip (through shell)
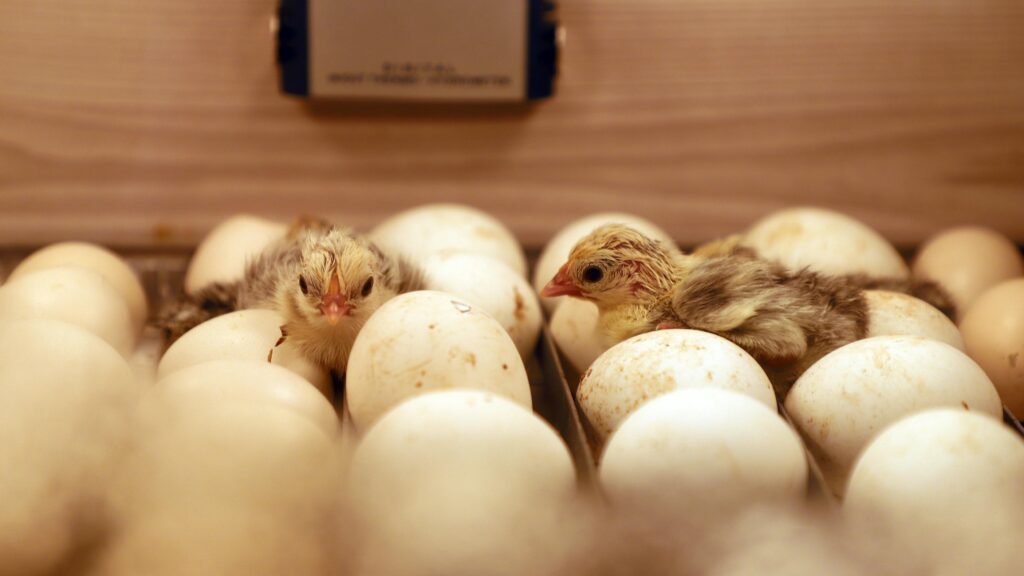
Photo by 경북 김
Common Incubation Mistakes to Avoid
- Inconsistent temperature – leads to deformities or death
- Poor ventilation – suffocates embryos
- Skipping egg turning – causes improper development
- Opening incubator during hatch – causes humidity drop
Logging daily temp/humidity can help catch issues early.
How to Candle Chicken Eggs
Candling is the best way to check development without opening the egg.
Ideal Candling Days:
- Day 7: Look for veins and movement
- Day 14: Observe growth and position
- Day 18: Check for internal pip and air cell size
Use a dark room and strong flashlight for best results.
Preparing for Hatch Day
Here’s what to prep before hatch:
- Increase humidity on Day 18
- Stop turning the eggs
- Do not open incubator during hatch
Signs of hatching:
- Chirping inside shell
- Cracks (external pip)
- Wobbling eggs
Let chicks dry before moving to the brooder.
Helping a Chick Hatch: Do or Don’t?
Only assist if:
- It’s been more than 24 hours since pip
- The membrane has dried or turned brown
- Chick is stuck and chirping weakly
Steps to assist:
- Moisten the membrane gently
- Peel slowly and carefully
- Stop if bleeding occurs
Never rush the process—many chicks hatch late but healthy.
Post-Hatch Care and Brooder Setup
Essentials for a Healthy Brooder:
- Temperature: 95°F first week, reduce by 5°F each week
- Bedding: Paper towels or pine shavings
- Food/Water: Chick starter feed, shallow water dish
Ensure no drafts and space for chicks to move between warm and cool zones.
Troubleshooting Poor Hatch Rates
Common culprits:
- Dirty or old eggs
- Fluctuating temps or humidity
- Genetic issues from parent stock
- Turning errors
Track hatch stats and tweak your approach each batch.
FAQs
1. Can you eat fertilized eggs?
Yes, as long as they haven’t started incubating.
2. What happens if humidity is too high?
Chicks may drown before hatching due to poor air cell development.
3. Should I wash the eggs before incubating?
No. Washing removes the protective bloom layer.
4. Why didn’t my eggs hatch at 21 days?
Late hatching can occur due to low temps. Wait up to day 23.
5. Can I reuse eggs if incubation fails?
No. Once incubation starts, eggs must hatch or be discarded.
6. Do eggs need light during incubation?
No. Darkness is fine; just candle with a light when needed.
Photo by Alison Burrell
Conclusion
Incubating chicken eggs can be a deeply rewarding experience, whether you’re a backyard hobbyist or a future homesteader. With consistent care, the right equipment, and a little patience, you’ll boost your hatch rates and raise strong, healthy chicks.